


This submit initially appeared on CheckingInWithChelsea.com.
Inspired by at the moment trending raffia-included home furnishings, I’m showing you how to make your own Tv set console table lined in wallpaper for $150!
**I partnered with Titebond for this venture which will make me seriously thrilled because…I made use of their unique wooden glue and ONLY their wood glue to keep my overall desk collectively! What?!**
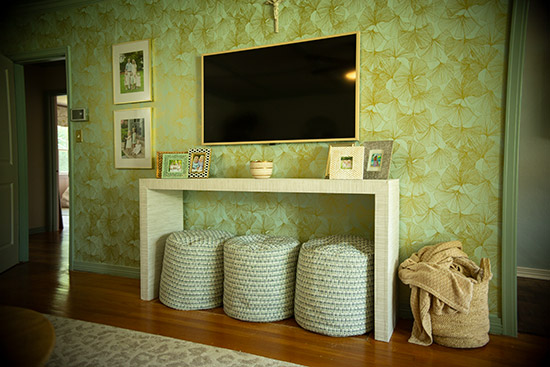
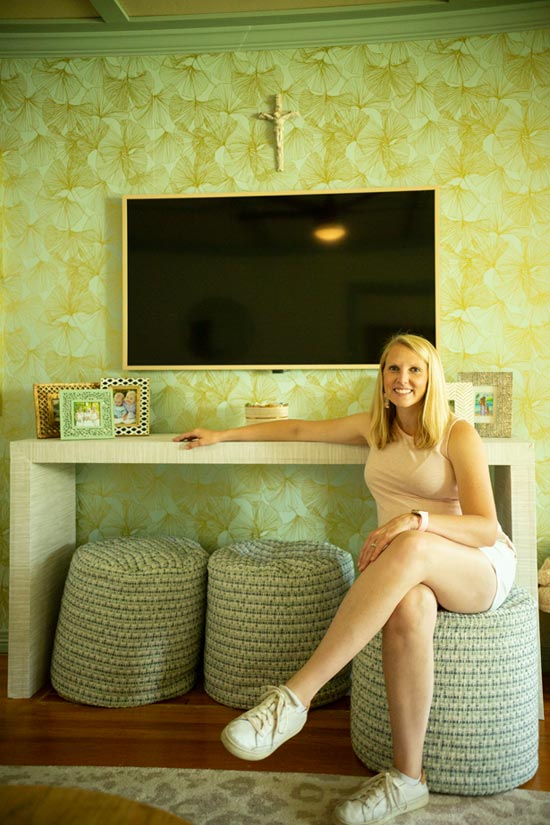
The aim for my residence was a tall and vast desk without any visible supports that broke up the thoroughly clean lines. The overall proportions of my finished desk are 70″ broad and 35″ tall. So retain that in intellect with the materials and lower lists underneath!
What to Acquire
What to Lower
1x2s:
- (4) @ 32″
- (7) @ 14-1/2″
- (2) @ 70″
3/4″ plywood:
- (4) 32″ very long x 16″ vast
- (2) 70″ extensive x 16″ wide
Creating the Console Desk Bins
Basically we are building 3 separate boxes. 2 will be the legs and 1 will be the tabletop.
Get started with the 2 lesser packing containers (legs) to get your ft soaked. Lay a 32″ piece of plywood down and increase your Titebond wooden glue alongside the best aspect of all 4 edges. Then lay a 1×2 on its facet on leading of the glue, creating certain it’s flush with the edge of the plywood.
The 32″ items of 1×2 will go from edge to edge of the plywood while the 14.5″ pieces ought to fit snuggly amongst.
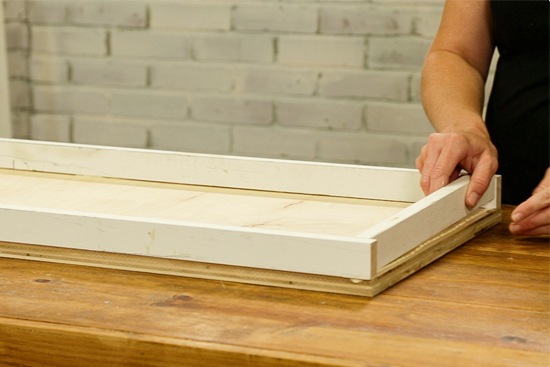
The moment you have the 1x2s lined up on the edges just so, run a bead of wood glue on the leading of them.
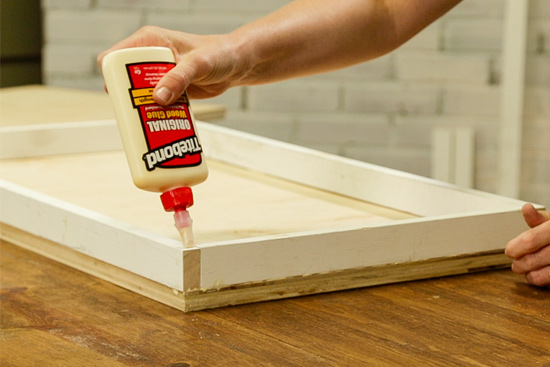
Gently set another 32″ piece of plywood on major. Now your box leg is finish!
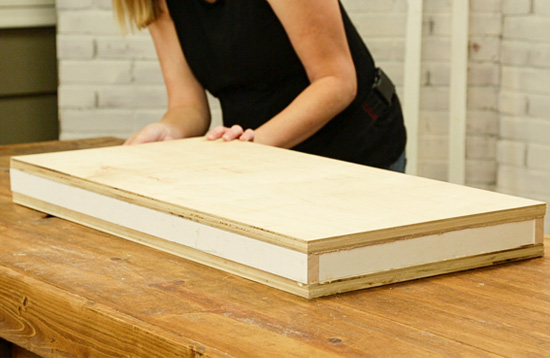
Repeat for the other leg, utilizing a number of clamps if essential to build super tight joints!
You’ll comply with the identical steps to develop the tabletop, only you will increase an added 14.5″ 1×2 guidance somewhere in the middle. This will enable retain the extended 1x2s from sinking in and include general stability to the desk.
Waiting is the Hardest Portion
If you have ever tried out to pry wooden apart that’s been glued with Titebond, even for a few minutes, you know it’s mainly not possible to do well.
And which is why you don’t need to have any nails or screws to maintain your desk with each other. Wood glue, when fully dried and treated, is actually stronger than fasteners! So crazy but oh so correct!
Permit your 3 boxes dry and set up for at least 30 minutes before relocating on to the next action.
Including Legs to the Desk Prime
Assuming your flooring is amount, set your leg boxes upright, approximately 70″ apart. Use enough amounts of wood glue to the tippy major of your legs and carefully established the tabletop in position. Change the leading so it is flush with the outdoors of your leg on one side just before changing the other leg.
For a desk this big, it would be practical to have a buddy or wife or husband maintain the good facet in location whilst you manipulate the other facet. But with a couple again-and-forths, you can deal with it yourself far too!
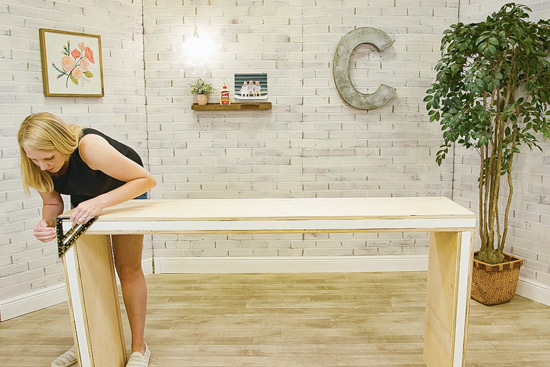
I made use of a velocity sq. to make certain the legs have been at 90-diploma angles. Not a poor tool to have in your arsenal if you really don’t have just one already!
When you’re contented with your leg predicament, allow it sit for about 30 minutes right before you start covering every little thing in wallpaper!
Adhering Wallpaper to the Console Desk
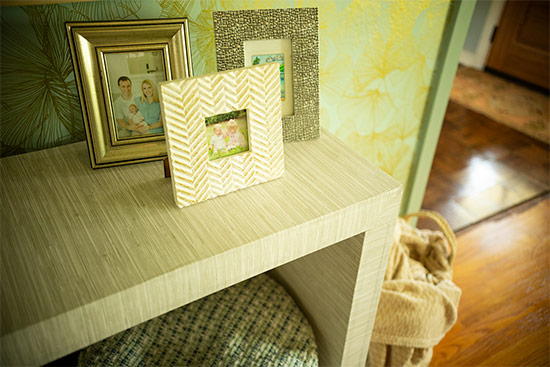
I adore the texture of a raffia or mild-coloured wood desk. And immediately after a buddy shared an economical peel-and-adhere wallpaper she employed that seemed like fake grasscloth, I realized I could use that to create the texture I wished for this piece of furniture.
I also wanted the desk to glimpse like 1 slab of wood. To produce that impact with the wallpaper, I started out at the base of just one leg, took it up and in excess of the major, and then down the other leg with no any cuts or seams. I also lined it up with the back edge of the table so it could fold and go down the front edge without the need of any seams.
Hopefully, the online video better illustrates how I dealt with the corners, so check out it higher than! I experienced the paper that arrived from the tabletop less than the paper from the legs. Then I scored on the paper alone the 45-diploma angle from the within corner to the outside corner of the wood composition. I slash any excessive paper from the best and then trapped it down. Following, I minimize the layer of paper coming from the legs along the line I just scored. So when all the things was laid flat and stuck down great, it appears like my legs and tabletop have been mitered together.
Originally I planned to carefully trim the excessive at the end of the front edge, but due to the fact it folded so properly with no any bubbling, I folded the inch or so excess and stuck it to the within of the desk.
And that bought covered up next with a further run of wallpaper. I purchased more than enough wallpaper (2 rolls) to address the inside of of the legs and the underside of the tabletop. And since I was considerably less worried on the underside about viewing seams, I coated them separately and finished up not covering the underside of the tabletop itself. You definitely cannot see it through day-to-day use and it saved me $27 by not opening the second roll.🤷♀️
Oh and for the legs, the inside of wallpaper was flush with the front edge so the excess was just folded about and stuck onto the again of the legs. Certainly, it appears to be like unfinished from the backside. BUT WHO CARES?!

The only place I desired to trim wallpaper was at the foundation of the legs. I propped up one particular leg at a time with a scrap piece of 1×2 so I could trim it as precisely as doable. I didn’t want any sliver of wooden showing and offering absent my table’s insider secrets!
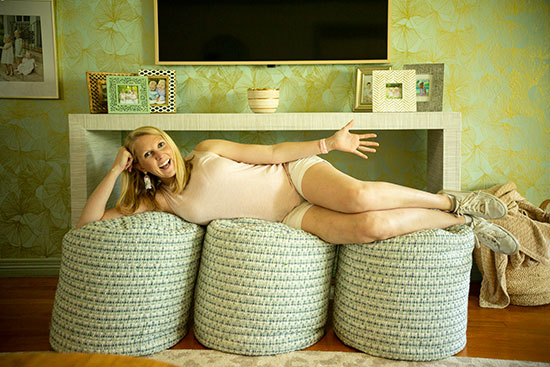
About an hour or so after completing the desk, there was however a very little wobble to it if you shifted it from facet to side. But soon after leaving it by itself overnight, the wiggle was long gone and this table was strong, secure and all set to transfer to its new home!
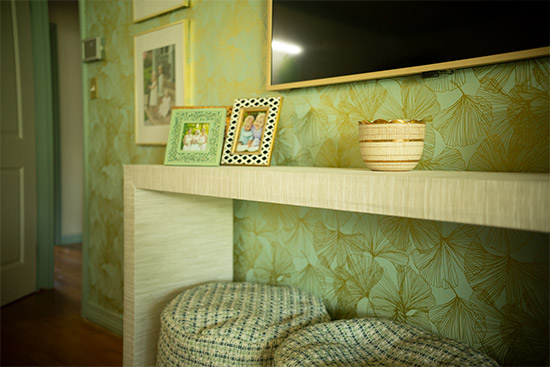
I ordered our poufs from House Depot* to serve as decoration AND added seating. They are like subtle beanbag chairs and the little ones have by now pulled them out to sit and roll around numerous moments!
The wallpaper guiding the Television and console was recently hung to build an accent wall. I like it by itself but I’m however making an attempt to determine out if I like the space as a complete with the wallpaper in it.🤔
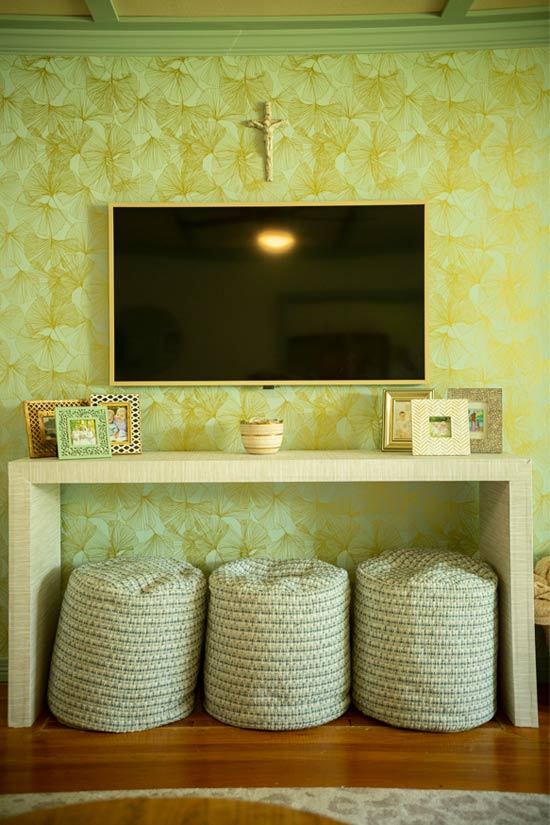
But we do enjoy the sleekness of our Frame Television*! It was a splurge we treated ourselves to when our prior house marketed for way above the inquiring cost. Now I’m wondering I could possibly brush some gold paint on the frame to match other gold frames in the space. The tasks and concepts in no way prevent all-around in this article! Ha!
*This put up consists of affiliate links.*
More Stories
Halogen Vs LED Under Cabinet Lighting
5 Practical And Aesthetically Pleasing Home Renovations And Add-Ons
A Mark of Distinction: Custom Closets and Cabinets